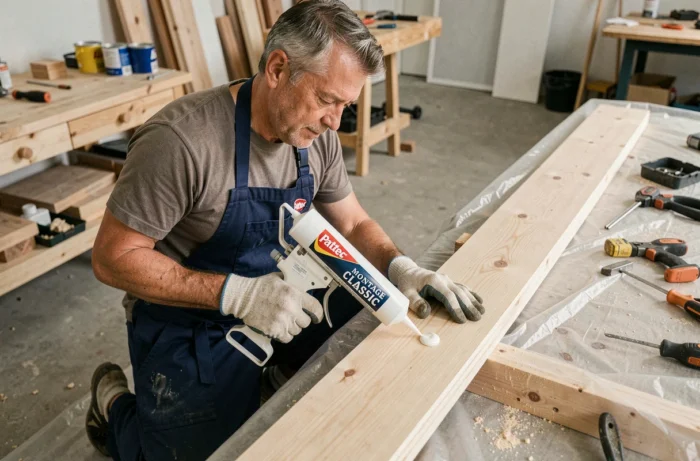
Fixing a baseboard, gluing a decorative panel, or assembling two materials without drilling: Pattex Montage Classic glue addresses these common situations in indoor DIY. This fixing product, packaged in a cartridge, replaces nails and screws on many surfaces. However, it is essential to know the application conditions to achieve a durable bond on the first attempt.
Acrylic or neoprene mounting glue: what changes for your fixings
You may have noticed that DIY aisles offer dozens of fixing glues with similar names? The difference lies in the chemical base of the product, and this choice determines the final result.
Pattex Montage Classic is based on a water-based acrylic formulation. This means it can be cleaned with water while still fresh, has a low odor, and is suitable for poorly ventilated areas. Neoprene glues, on the other hand, contain solvents that require adequate ventilation during application.
This distinction also impacts the compatible materials. An acrylic glue adheres well to wood, plaster, brick, and particle boards. However, it reaches its limits on PVC, ABS, or greasy surfaces. To master each scenario, the use of Pattex Montage Classic glue requires checking the exact nature of the two surfaces before opening the cartridge.
The current trend in Pattex ranges is moving towards formulations with low volatile organic compound content. MS polymer glues (Ni Clou Ni Vis range) are gaining ground for heavy objects or humid environments, but the Classic version remains the reference for light to medium indoor fixings.
Preparing the surface before gluing: the step that many neglect
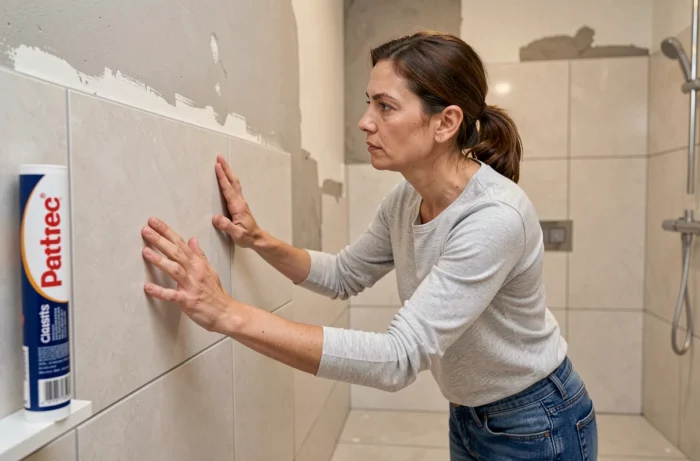
A failed bond rarely comes from the glue itself. In the vast majority of cases, the problem lies with the surface. Dust, peeling paint residues, grease marks: each of these elements creates a barrier between the glue and the surface.
Checks to systematically perform
- The surface must be dry, stable, and free of crumbly parts. Scrape off any peeling paint or wallpaper residues before applying anything.
- On a painted wall in good condition, a simple dusting is sufficient. On a raw surface (brick, concrete, new plaster), let it dry completely before gluing.
- Greasy surfaces (oiled metal, exotic wood like teak) require prior degreasing with an appropriate solvent. Without this step, the glue will slide instead of adhering.
A often-forgotten point: the moisture of the surface directly influences the curing time. A freshly coated wall or wood stored in a humid environment prolongs drying and weakens the final bond.
Applying Pattex Montage glue: cord technique and initial pressure
The cartridge is placed in a standard caulking gun. After screwing on the nozzle and cutting its tip with a cutter, you control the width of the glue cord. The finer the opening, the more precise the cord will be, preventing overflow on narrow baseboards.
Continuous cord or glue dots
Two methods coexist depending on the piece to be fixed. For a baseboard or a long profile, apply a continuous zigzag cord a few millimeters from the edge. For a single element (hook, small panel), glue dots spaced about ten centimeters apart are sufficient.
The rule to remember: on two non-absorbent materials (for example, metal against tiles), leave a gap of about three millimeters between the dots or cords. This gap allows air to circulate and promotes the drying of the glue.
The pressure of the first seconds
Once the glue is applied, press the two parts firmly against each other for about ten seconds. This action ensures maximum contact between the glue and the surfaces. Then, do not move the pieces during the entire curing phase.
For heavy elements or those under stress (wall shelf, large decorative panel), maintain clamping or bracing for at least twenty-four hours. A simple masking tape is sufficient for light pieces, but a clamp or wedge is preferable as the weight increases.
Common mistakes and limits of Pattex Classic fixing glue
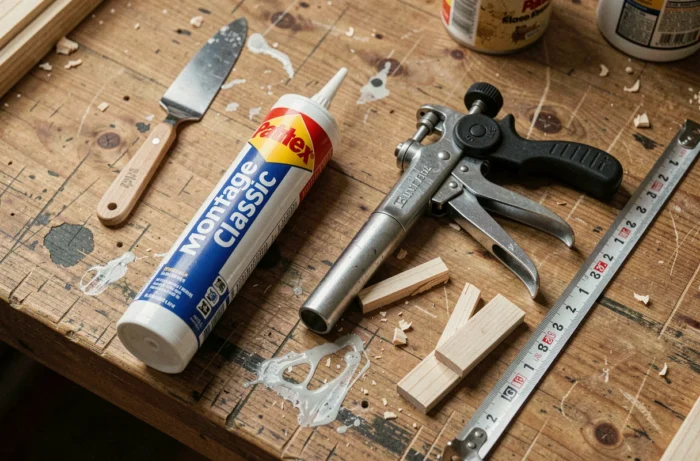
The first common mistake: applying glue to both faces. With an acrylic mounting glue, you only glue one surface. Doubling the amount does not strengthen adhesion; it creates a layer that is too thick and dries poorly in the center.
The second trap: using Pattex Montage Classic outdoors or in a room regularly exposed to water (shower, bathtub edge). This glue is designed for dry indoor use. For a humid environment, water-resistant MS polymer formulations take over.
The third limit: weight. Classic mounting glue is suitable for baseboards, moldings, and light panels. Beyond a certain load threshold, a special heavy-duty fixing glue or a mechanical system (anchor, screw) becomes more reliable.
Also consider the temperature. Below about five degrees, curing slows down significantly. If you are working in an unheated garage in winter, the glue may never reach its final strength.
Last useful reflex: close the nozzle after each use with a nail or a cap. Acrylic glue dries quickly in the open air, and a poorly closed cartridge becomes unusable in a few days. A well-preserved tube, stored at room temperature, remains usable for several months after opening.